Clone machines with CloneZilla and iVentoy
This guide will describe how to clone & restore disks using CloneZilla booted over PXE using iVentoy on Windows.
Prerequisites:
CloneZilla ISO: https://clonezilla.org/downloads/download.php?branch=stable
iVentoy ZIP: https://github.com/ventoy/PXE/releases/download/v1.0.19/iventoy-1.0.19-win64-free.zip
Setup iVentoy:
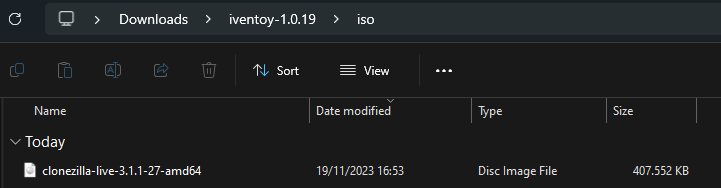
Unpack the iVentoy ZIP and add the CloneZilla ISO to iVentoy's ISO folder.
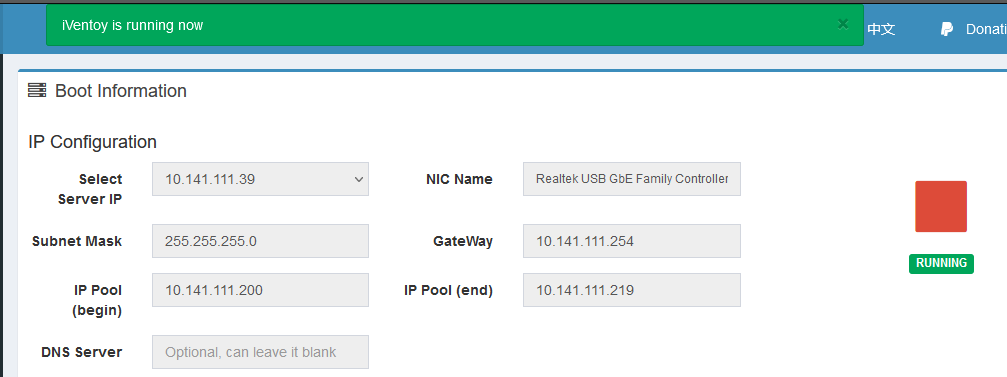
Now start iVentoy by running iVentoy_64.exe, this should open iVentoy's web interface. Here we can start iVentoy's built-in DHCP server to start serving PXE.
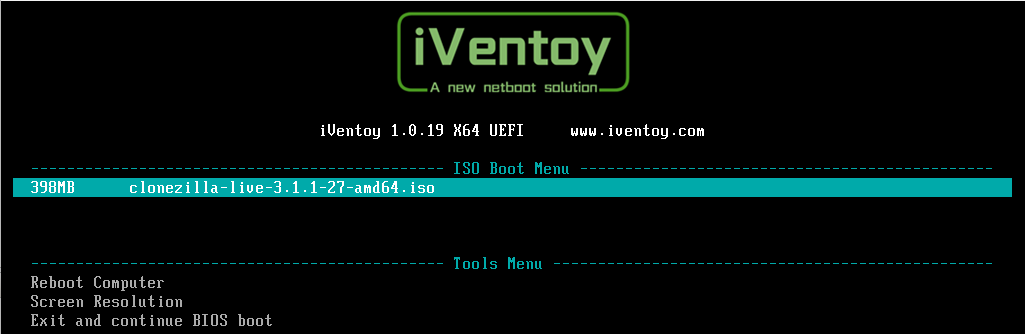
Now you can boot your CloneZilla over PXE on the device you want to clone or restore.
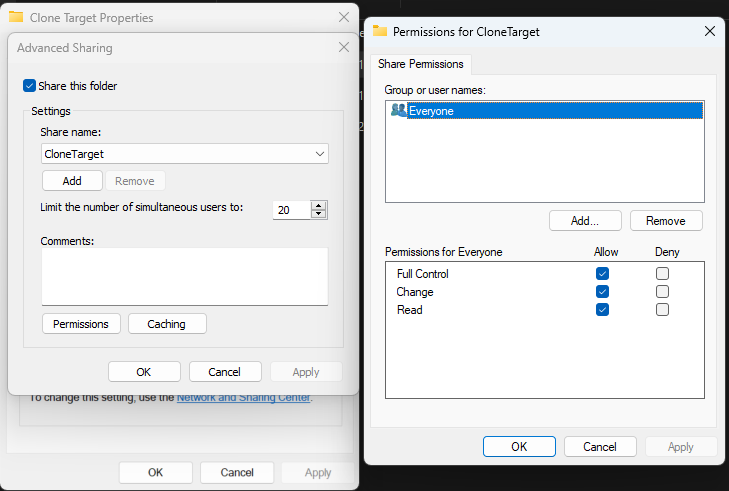
SMB share
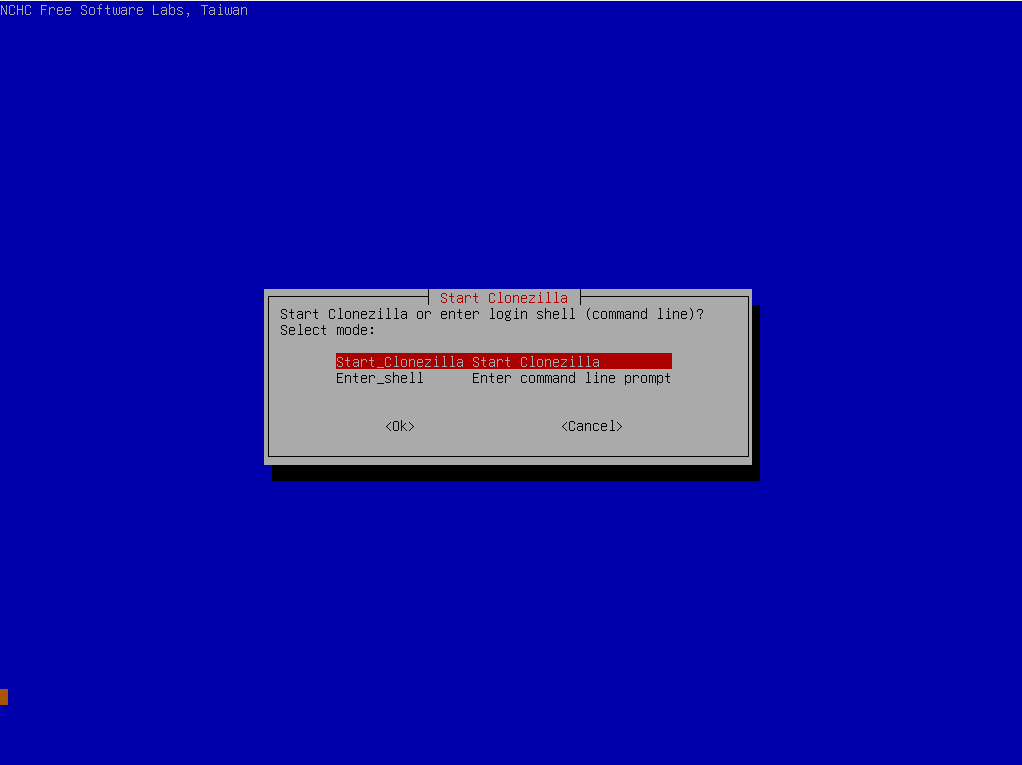
CloneZilla
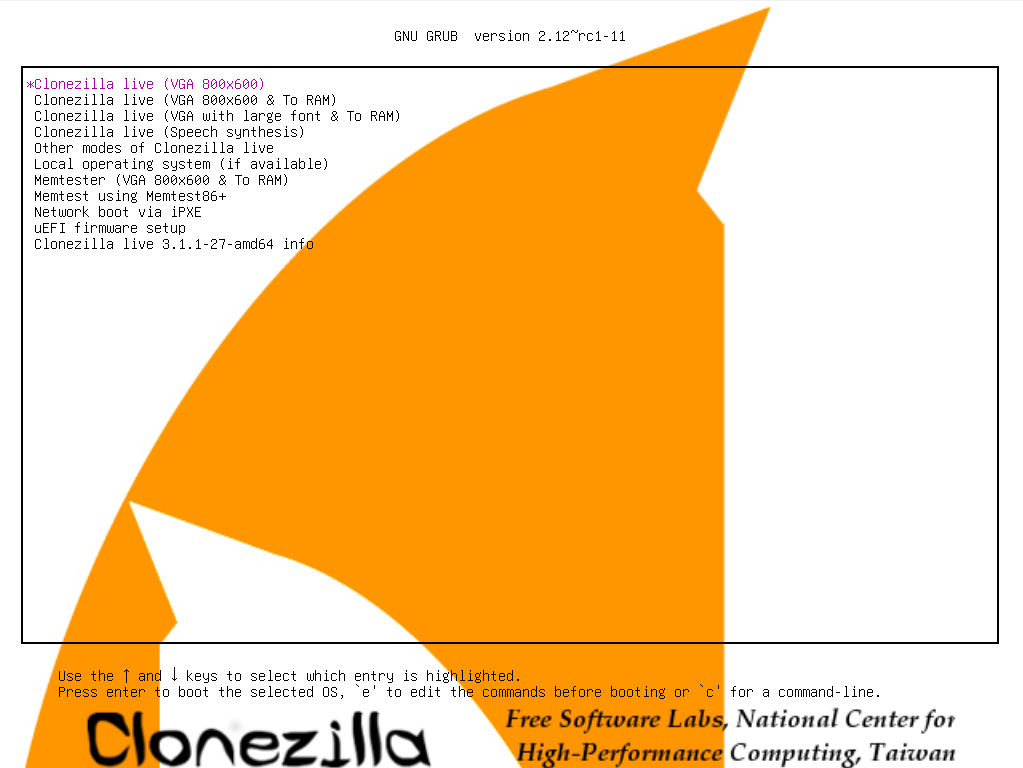
Start CloneZilla.
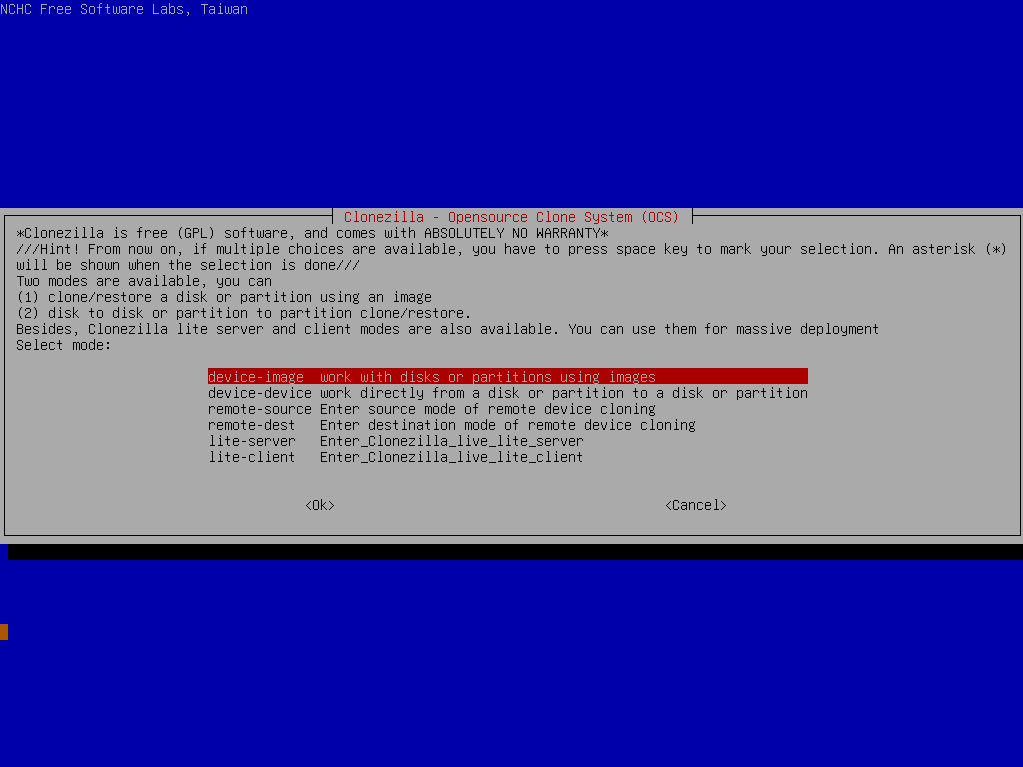
Select device-image.
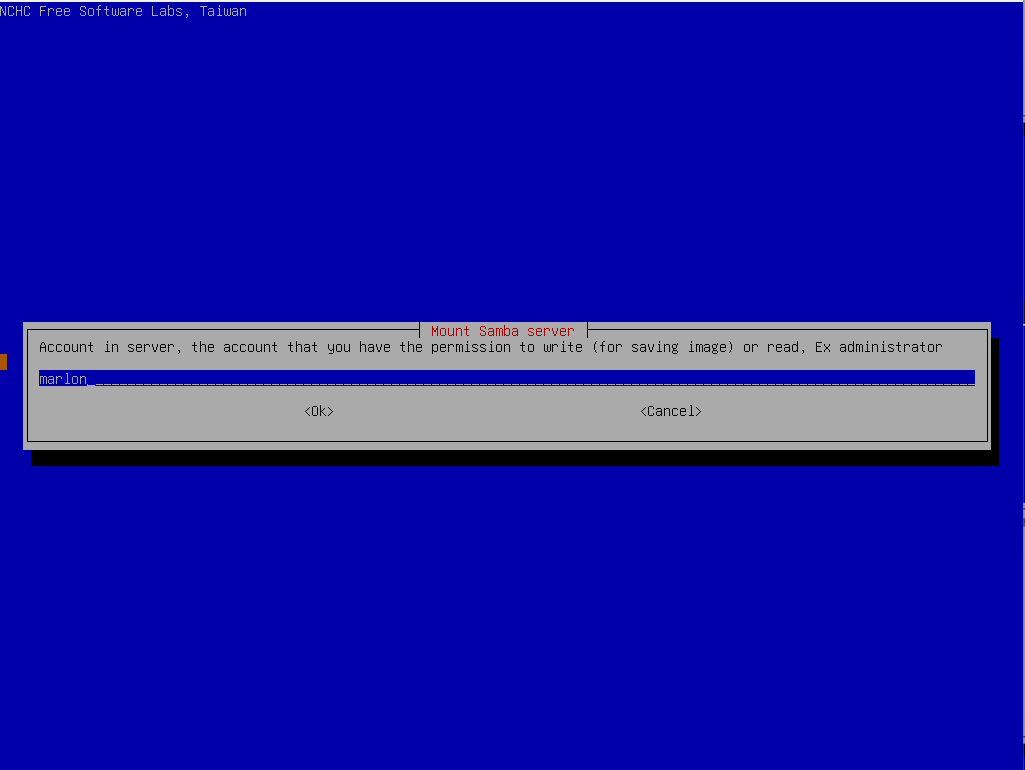
Select samba_server.
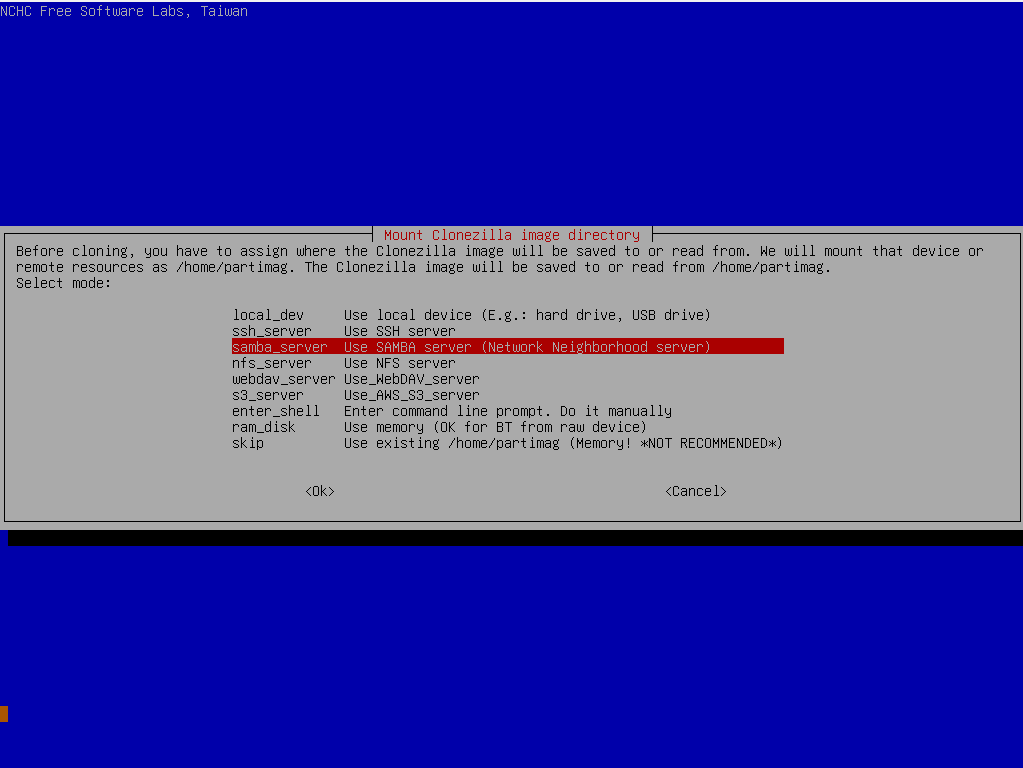
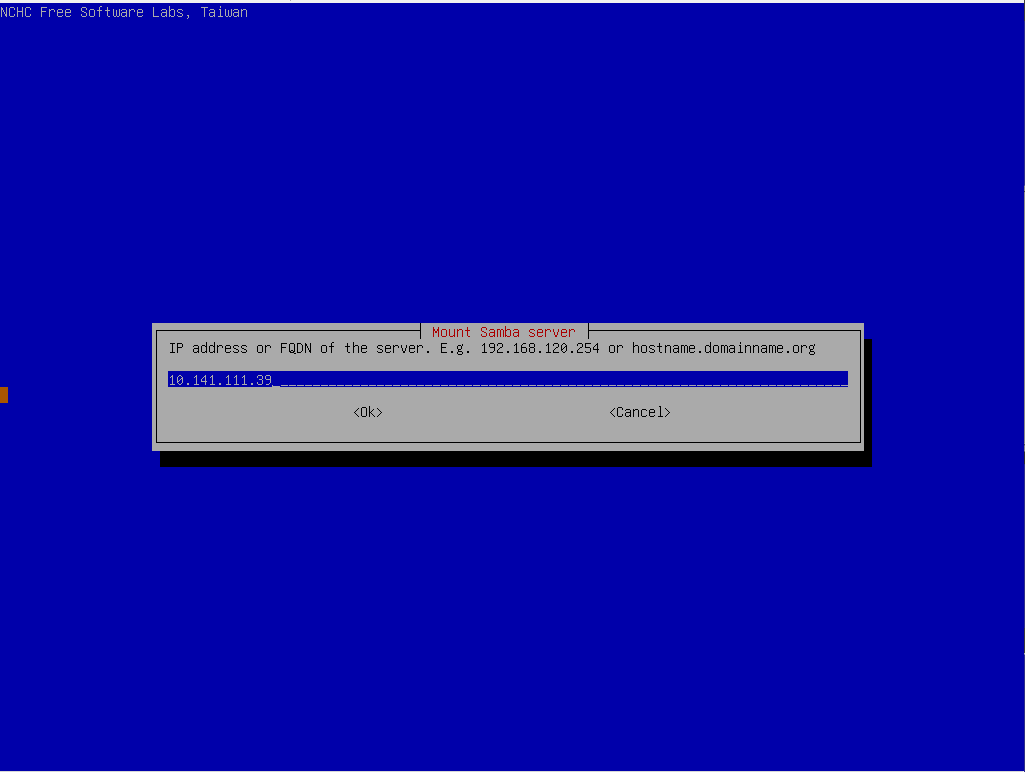
Enter the IP of the device that serves the SMB-share.
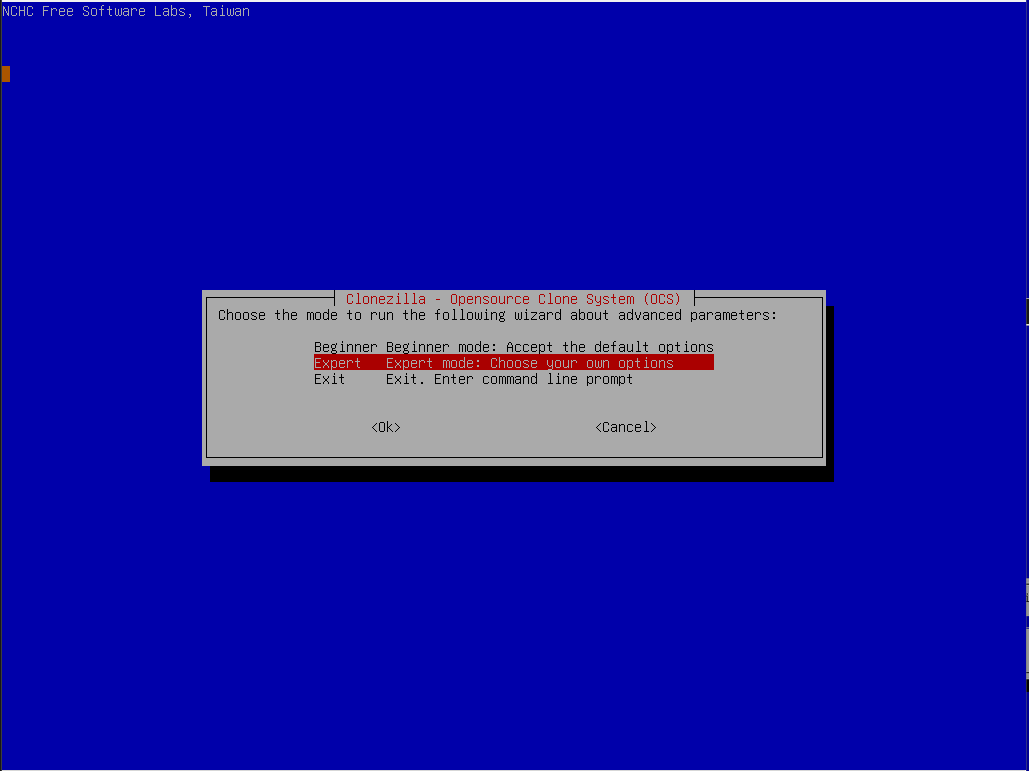
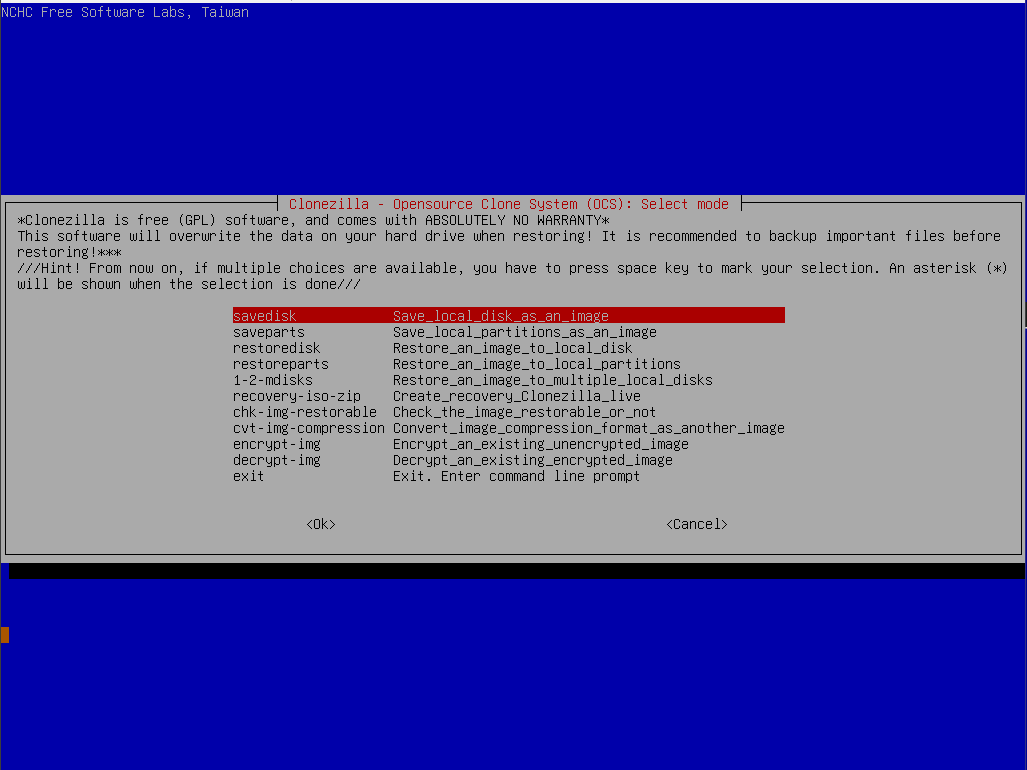
Select export mode.
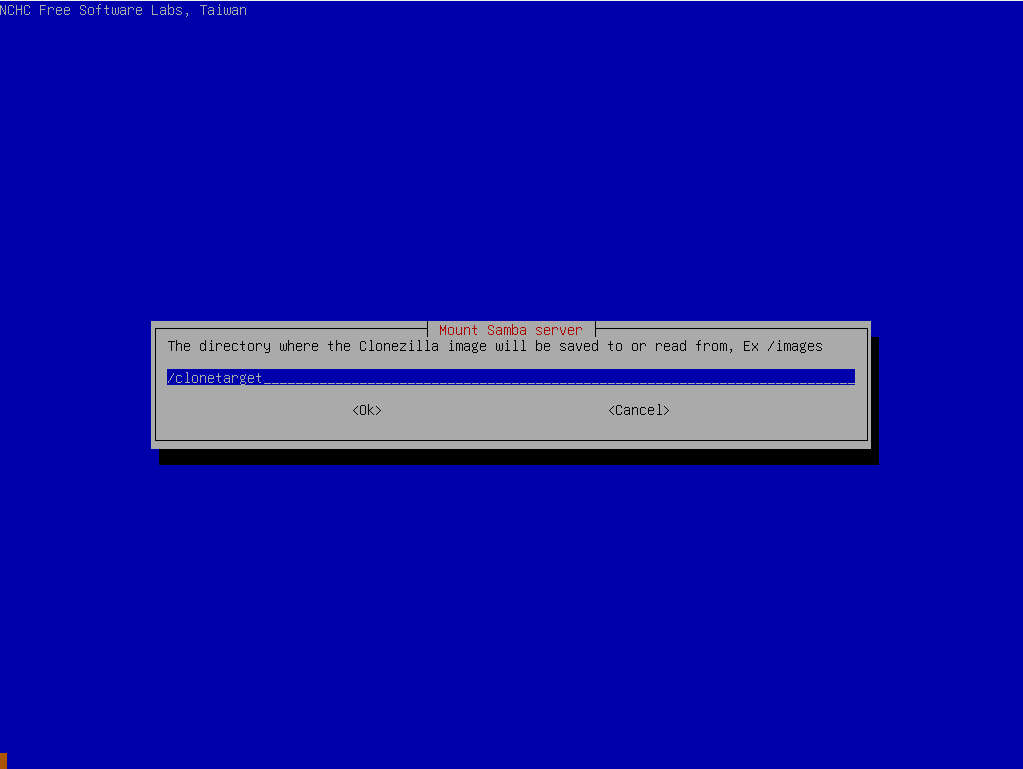
Select either savedisk or restoredisk, savedisk will save the disk image to the SMB-share, restoredisk will allow for restoring disk images from the SMB-share.
No comments to display
No comments to display